Help Library
How to schedule Posts in Bulk on the Social Planner (CSV)
Modified on: Thu, 27 Oct, 2022 at 1:35 PM
Scheduling Social Media posts in bulk with the help of a CSV file can be the most optimal time-saving technique for scheduling in advance for the social journey. CSV is a “comma-separated values” file that allows you to save your information in a structured way.
Covered in this Article
1. Bulk Scheduling Posts on the Social Planner:
2. Pre-requisites:
(a). Date and Time Column:
(b). Content Column
(c). Preview link:
(d). Image Url
(e). Gif Url
(f). Video Url
3. How to Bulk Schedule Posts on the Social Planner:
4. FAQ
(a). What is the number of posts allowed via CSV at one time?
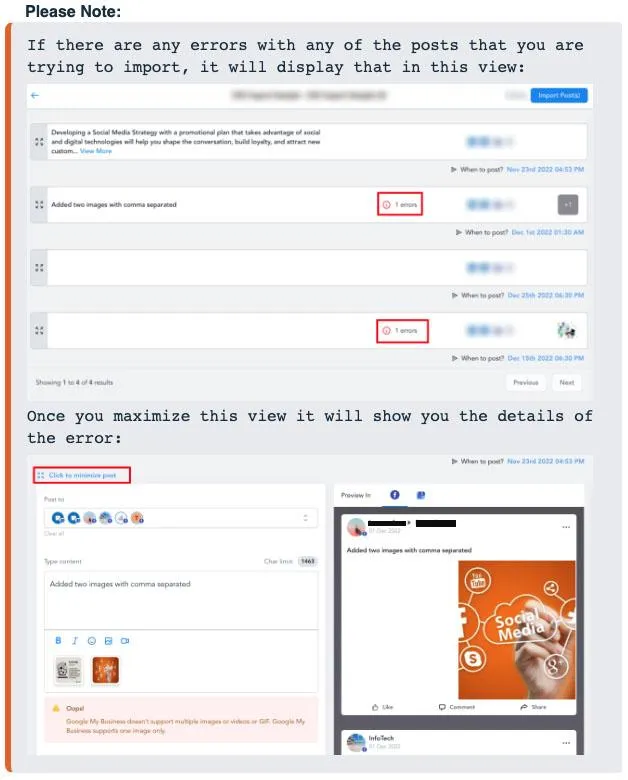
(b). How can I solve the errors for posts?
(c). What is the difference between CSV upload and post composer tag in list view?
1. Bulk Scheduling Posts on the Social Planner:
As your Social Media Marketing grows and you have to post across various Social Media Platforms on a larger scale without manually doing it post by post, the Bulk Scheduling posts on the Social Planner capability will allow you to do just that.
You will need to make sure that the CSV file you import into the Social Planner follows a set of prerequisites.
2. Pre-requisites:
your CSV needs to be set up before you can import it into the Social Planner to bulk schedule posts. Here is a short sample CSV template you can download:
(a). Date and Time Column:
In this column, you can type in the date and time when you want to share your post. In this column, you must format the date exactly how you see it at the top of the column: YYYY-MM-DD HH:mm:ss (One space between the date and time). If the date column is empty, it will be considered in the Draft.
The Column Header of this column must be exactly as mentioned in the Sample CSV as shown in the video,
it should be as follows:
postAtSpecificTime (yyyy-MM-dd HH:mm:ss)
It is highly recommended to have all the scheduled times be at least 10 minutes after the time when you are uploading the CSV.
For example, if the scheduled date/time for the post is 2023-10-14 15:00:00. This means that the CSV should be uploaded no later than October 14th, 2023 at 2:50PM.

(b). Content Column:
In this column, you can type in or paste what you want to appear as the caption of your post, you can add
Hashtags too. The Column header of this column should be written as follows:
Content
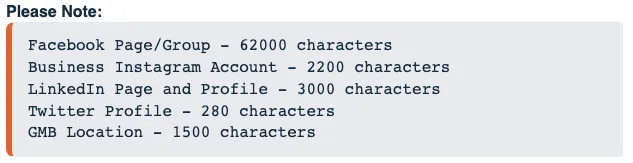
The caption must abide by the social media post character limit rules you are scheduling it for.
(c). Preview Link:
In this column, you can type the URL or paste the URL that you want to appear as the link preview of your post.
The Column header of this column must be written as follows:
link (OGmetaUrl)

(d). Image URL:
In this column, you can paste what you want to appear as the image of your post. The column header should be written as follows:
imageUrls
You can add multiple image URLs with commas separated. The image link must be in proper formats like png or jpeg/jpg and other aspects for image supported based on the social media platform. The maximum number of images supported is 10 image(s).

(e). Gif URL:
In this column, you can paste what you want to appear as the GIF of your post. The Column header of this column should be written as follows:
gifUrl

(f). Video URL:
In this column, you can paste what you want to appear as the video of your post. The Column header of this column must be written as follows:
videoUrls
You can add multiple Video URLs here comma separated. The maximum number of videos supported for one post is 10 videos at a time.

3. How to Bulk Schedule Posts on the Social Planner:
Here are the steps for bulk scheduling with a CSV file in the Social Planner.
Step 1:
Go to the Social Planner click on New Post and then click on Upload the CSV

Step 2:
Upload the CSV with the details of the post.

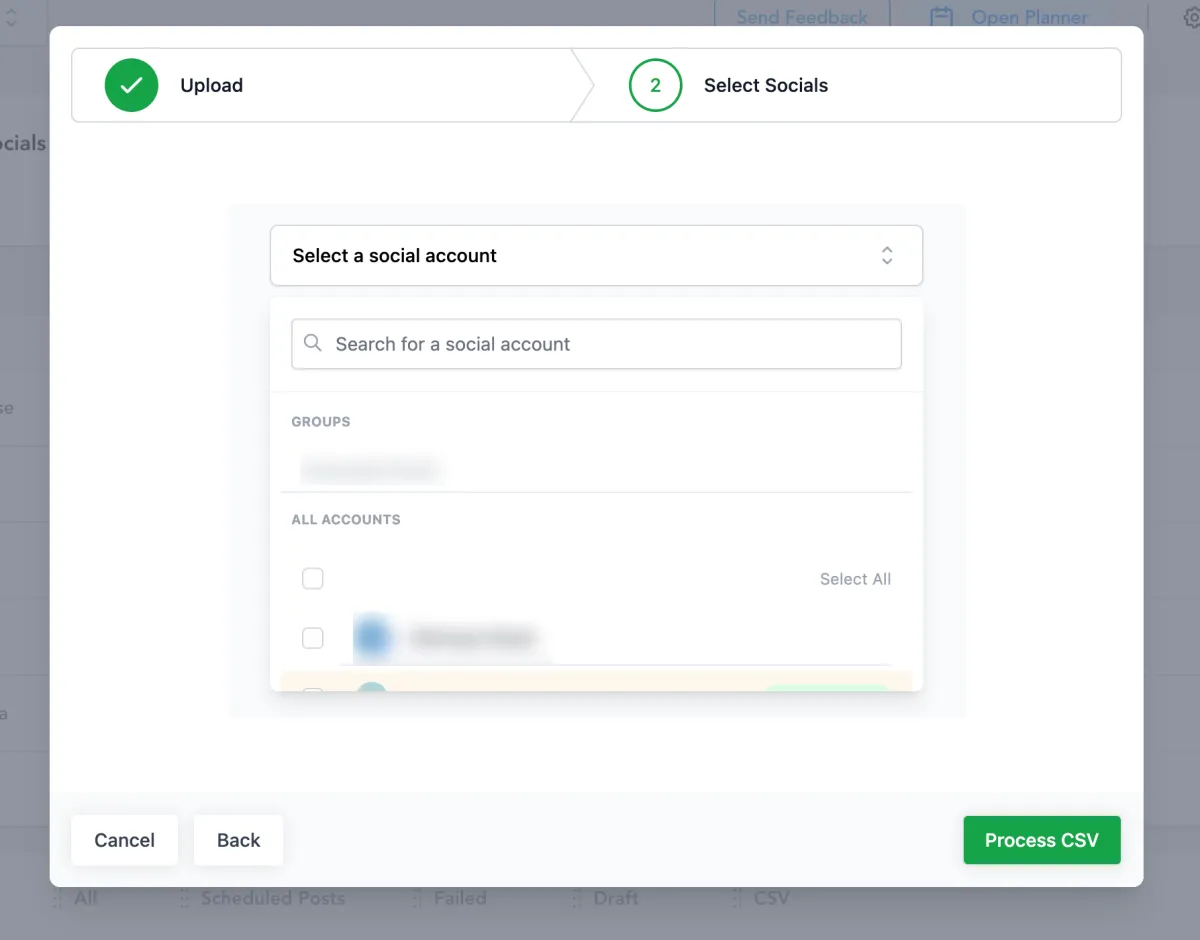
Step 3:
Select the Socials for bulk scheduling
Step 4:
- In Progress - CSV file is being processed for the content, links, images, and videos.
- In Review and Schedule - The user can review the details and can make changes to the post with errors or change the details of posts.

Step 5:
Review and Schedule the CSV


Step 6:
Once you have resolved the errors or removed the posts with errors in them, you can Import Posts to the Social Planner:

Step 7:
It will show you in the Social Planner dashboard which posts came in via CSV upload and which ones came in via the Post Composer:

4. FAQs